The Heart of Your Water Filtration System
For many households, an under-sink water filter is a silent guardian, ensuring clean, great-tasting water for drinking and cooking. However, the efficacy of this guardian hinges on a simple yet crucial maintenance task: replacing the filter cartridge. For beginners, this process might seem daunting, but understanding the "why" and "how" can transform it from a chore into a straightforward routine.
Why Regular Cartridge Replacement is Non-Negotiable
The filter cartridge is the core component that physically removes contaminants. Over time, its pores become clogged with trapped impurities, which can lead to several issues:
Reduced Filtration Performance: A saturated cartridge cannot effectively remove contaminants like chlorine, lead, sediments, or other particles, compromising your water's safety and taste.
Decreased Water Flow: Clogging significantly slows down the water pressure from your dedicated faucet, making filling pots or pitchers frustratingly slow.
Potential for Bacterial Growth: Stagnant water and accumulated organic matter in an old cartridge can become a breeding ground for bacteria, counteracting the filter's purpose.
System Damage: In reverse osmosis (RO) systems, a spent pre-filter cartridge can cause undue stress on the more delicate RO membrane, leading to premature failure and costly repairs.
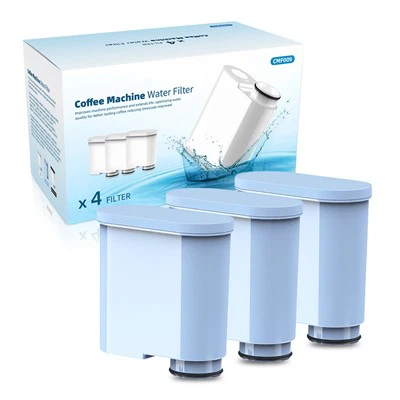
Most manufacturers recommend replacing standard under-sink filter cartridges every 6 to 12 months, or after filtering a specified volume of water (e.g., 500 gallons), whichever comes first. For compact models or systems in areas with poor water quality, replacement may be needed closer to the 6-month mark.
Step-by-Step Replacement Guide for Beginners
Before You Begin:
1. Identify Your System: Locate the model name/number on your filter housing or manual. This is essential for purchasing the correct replacement cartridge.
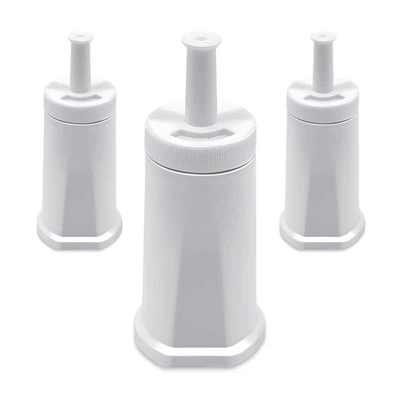
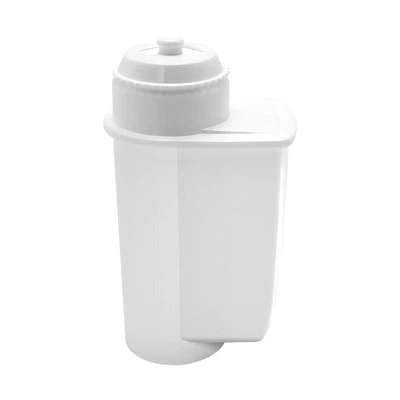
2. Purchase the Right Cartridge: Buy an authentic or certified-compatible replacement cartridge from a reputable supplier.
3. Gather Tools: Typically, you only need the filter's included wrench. Have a towel and a small bucket ready for any spills.
Replacement Steps:
1. Shut Off the Water Supply: Locate and turn the shut-off valve for the filter system (usually a blue knob) clockwise until tight. If your system lacks a dedicated valve, you may need to shut off the main cold water supply under the sink.
2. Relieve Pressure: Turn on the dedicated filtered water faucet to release any remaining water pressure in the line.
3. Remove the Old Cartridge:
Place the towel and bucket under the filter housing.
Use the wrench to turn the filter housing counterclockwise. It may require some force.
Once loose, unscrew the housing by hand and carefully lift it off. The old cartridge will be inside.
Pull the cartridge straight out. Note its orientation.
4. Prepare the New Cartridge and Housing:
Discard the old cartridge.
Rinse the new cartridge (if recommended by the manufacturer) with cold water. Do not use hot water.
Clean the inside of the empty filter housing and the O-ring (the rubber seal) with a damp cloth. Check the O-ring for cracks and lubricate it with a dab of food-grade silicone grease if available.
5. Install the New Cartridge:
Insert the new cartridge into the housing, ensuring it is seated in the correct orientation, matching the old one.
Hand-tighten the housing back onto the filter head.
Use the wrench to give it an additional quarter to half turn. Do not overtighten, as this can damage the O-ring and housing.
6. Restore Water and Check for Leaks:
Slowly turn the water supply back on.
Inspect the housing connection for any drips or leaks. Tighten slightly if necessary.
Let the filtered water faucet run for at least 5-10 minutes to flush out any carbon fines or air from the new cartridge. This water is not for consumption.
Pro Tips and Troubleshooting
Set a Reminder: Mark your calendar or set a phone reminder based on your filter's replacement schedule.
Understand Your System Type: Standard carbon block or sediment filters are common, but if you have a 100 GPD (Gallons Per Day) Reverse Osmosis (RO) system, you likely have multiple cartridges (pre-filters, RO membrane, post-filter) with different lifespans. Always refer to your specific manual.
Leak After Replacement? The most common cause is a misaligned, damaged, or dry O-ring. Turn off the water, disassemble, and re-check the seal.
Water Tastes Strange After Replacement? This is normal during the initial flush. Ensure you have flushed the system adequately. The taste should clear and become fresh.
Empowerment Through Simple Maintenance
Regular cartridge replacement is the simplest and most effective way to ensure your under-sink water filter performs as promised-delivering safe, clean, and delicious water. By following this guide, you move from being a passive user to an informed maintainer of your home's water quality. Embrace this routine task; your health, your taste buds, and your filtration system will thank you for it.