As a supplier of remote control toilet seats, I often receive inquiries about how to test these high - tech bathroom fixtures. Testing a new remote control toilet seat is crucial to ensure its functionality, reliability, and user - friendliness. In this blog, I'll share the comprehensive testing process that I use to evaluate our products.
I. Unboxing and Initial Inspection
The first step in testing a remote control toilet seat is unboxing it and conducting an initial inspection. Carefully remove the toilet seat from the box and check for any visible damage during transit. Look for scratches, cracks, or loose parts on both the seat and the remote control.
Inspect the packaging contents to ensure that all the necessary components are included. This usually consists of the toilet seat itself, the remote control, a power cord, water hoses, and installation hardware. Refer to the user manual to confirm that you have everything you need.
II. Installation
Before testing the functionality, the toilet seat must be properly installed. Installation is a critical step as improper installation can lead to various issues during testing.
- Prepare the Toilet
- Clean the toilet bowl thoroughly to ensure a smooth and clean surface for the seat installation. Remove any debris, dirt, or old wax rings.
- Attach the Mounting Bracket
- Follow the instructions in the user manual to attach the mounting bracket to the toilet bowl. Make sure it is securely fastened to prevent the seat from wobbling.
- Connect the Water Supply
- Connect the water hoses to the appropriate inlets on the toilet seat and the water supply valve. Check for any leaks at the connections. Tighten the fittings if necessary.
- Plug in the Power
- Connect the power cord to a grounded electrical outlet. Ensure that the power supply meets the voltage requirements specified in the user manual.
III. Functional Testing
Once the installation is complete, it's time to start the functional testing.
- Power On and Remote Control Pairing
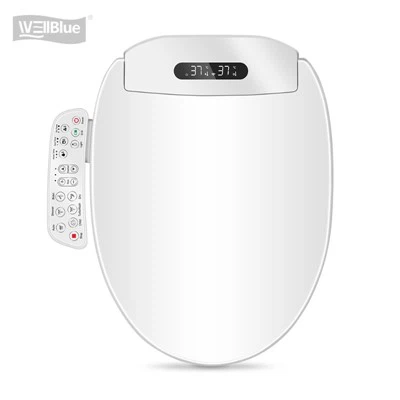
- Press the power button on the toilet seat or the remote control to turn on the device. Most remote control toilet seats require pairing between the seat and the remote. Follow the instructions in the user manual to complete the pairing process. For example, some seats may require you to hold a specific button on the seat and the remote simultaneously until the pairing is successful.
- Heating Function
- Use the remote control to adjust the seat heating function. Set different temperature levels and wait for a few minutes to feel the change in seat temperature. Check if the seat heats up evenly and reaches the set temperature. You can use a thermometer to measure the actual temperature on different parts of the seat to ensure accuracy.
- Water Temperature and Pressure
- Test the water temperature and pressure settings. Use the remote to select different water temperature levels and water pressure intensities for the bidet functions. Check if the water temperature is consistent and comfortable, and the water pressure is strong enough for effective cleaning. You can place a container under the water outlet to collect the water and measure the flow rate and temperature more precisely.
- Bidet Functions
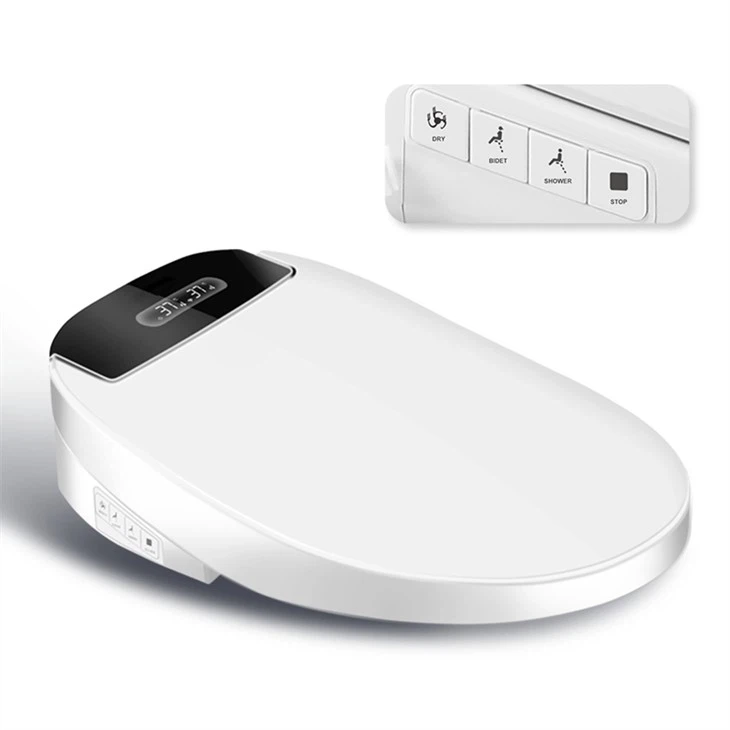
- There are usually multiple bidet functions available, such as posterior wash, feminine wash, and child wash. Test each function separately. Check if the water spray pattern is correct and covers the intended area. Ensure that the nozzles retract and extend smoothly and that there are no blockages in the water outlets.
- Drying Function
- Activate the drying function using the remote control. Set different drying levels and check if the warm air is blowing evenly and at the appropriate temperature. The drying time should be reasonable, and the air should be sufficient to dry the user effectively.
- Deodorizer Function
- If the toilet seat is equipped with a deodorizer function, turn it on. Notice if there is a reduction in unpleasant odors in the bathroom. You can use odor - testing kits or simply rely on your sense of smell to evaluate the effectiveness of the deodorizer.
IV. Durability and Reliability Testing
In addition to functional testing, durability and reliability are also important aspects.
- Remote Control Durability
- Press all the buttons on the remote control multiple times to check for any sticking or non - responsive buttons. Drop the remote control from a short height (as specified in the testing standards) onto a soft surface to simulate accidental drops and see if it still functions properly.
- Seat and Nozzle Movement
- Open and close the toilet seat multiple times to test its hinge mechanism. Check if it moves smoothly without any squeaking or jamming. For the nozzle movement, extend and retract the nozzles repeatedly to ensure their long - term reliability.
- Long - term Testing
- Run the toilet seat through a series of continuous operations over an extended period. For example, set the bidet function to run for several hours to check for any overheating, water leakage, or component failures.
V. Safety Testing
Safety is of utmost importance when it comes to bathroom appliances.

- Overheat Protection
- Monitor the temperature of the seat and other heating components during the heating function test. If the temperature exceeds a certain limit, the overheat protection mechanism should kick in and shut off the heating function automatically.
- Electrical Safety
- Check for any electrical shorts or exposed wires. Use a multimeter to measure the electrical insulation resistance to ensure that the device meets the safety standards.
VI. User - Friendliness Testing
The user - friendliness of the remote control toilet seat is a key factor for customer satisfaction.
- Remote Control Layout
- Evaluate the layout of the remote control buttons. Are they easy to understand and operate? The icons and labels on the remote should be clear and intuitive.
- Ease of Use of Functions
- Try to perform different functions using the remote control without referring to the user manual. A good remote control toilet seat should be easy to use, even for first - time users.
VII. Product Recommendations
We offer a variety of remote control toilet seats, such as the U Shape Remote Control Toilet Seat, White Panel Remote Control Toilet Seat, and Black Panel Remote Control Toilet Seat. Each of these products has been rigorously tested using the methods described above to ensure high - quality performance.
If you are interested in purchasing our remote control toilet seats or have any questions about the testing process, feel free to contact us for procurement discussions. We are committed to providing you with the best products and services.
References
- Manufacturer's user manuals for remote control toilet seats.
- Industry standards for bathroom appliance testing.
- Research on consumer preferences for remote control toilet seats.